Azure Connection
Setting up an Azure Service Principal is required to allow GRAX to manage infrastructure in your Azure account. This involves a few more steps than the AWS setup, but those steps are outlined below for both the Azure Portal and the Azure CLI.
Azure Portal (GUI)
Create the Service Principal
-
Navigate to the Azure Portal and login with a user that has the necessary permissions to create service principals.
-
Search for and open the
App Registrationservice.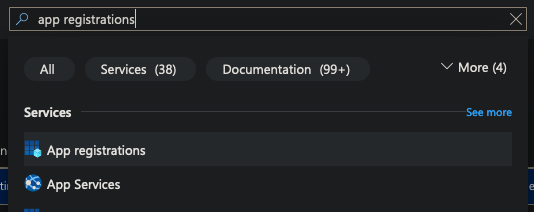
-
Click
New registration.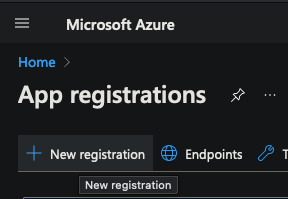
-
Name the team 'GRAX' or something similar in accordance with your business' naming conventions and click
Register. -
Copy the
Application (client) IDandDirectory (tenant) IDvalues from the Overview page to a safe location for later use.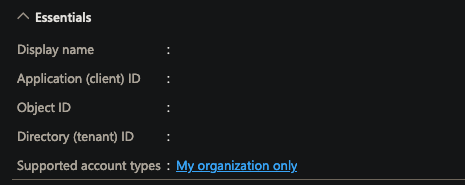
Create the Client Secret
- Open the Service Principal you just created in the Azure Portal.
- Click
Certificates & secrets. - Click
New client secret. - Name the secret 'GRAX' or something similar in accordance with your business' naming conventions.
- Copy the
Valueof the secret to a safe location for later use.
Assign the Service Principal a Role
-
Navigate to the subscription you wish to deploy GRAX into.
-
Click
Access control (IAM). -
Click
Add role assignment.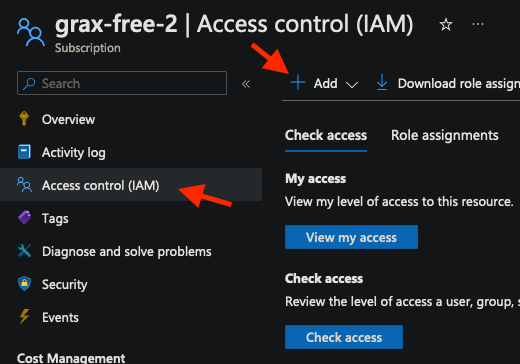
-
Select the
Ownerrole underPrivileged administrator roles.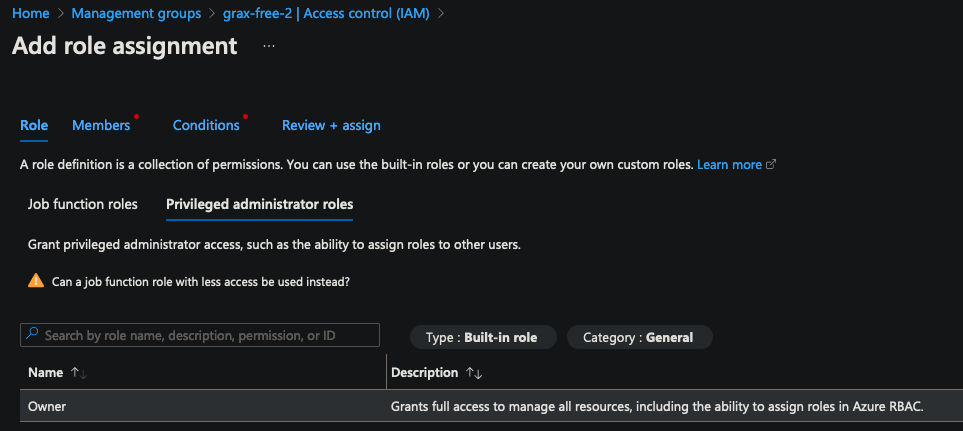
-
Click the
Memberstab then search for and select the Service Principal you created earlier.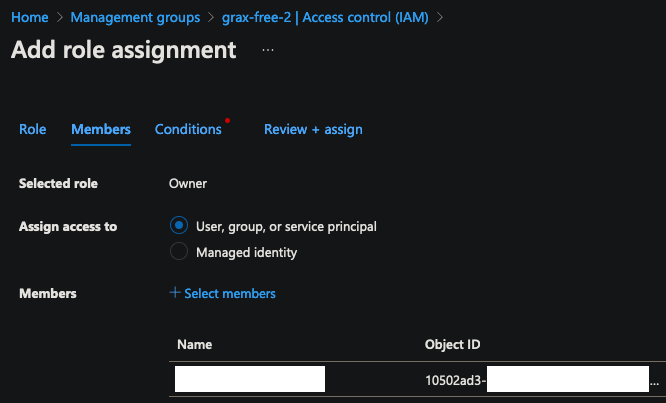
-
Use the
Review + assigntab to save the role assignment.
Configuring the Connection in GRAX
On the GRAX Platform team you'd like to use for creating a deployment, navigate to the Connections tab and click Connect Azure. Fill in the following values:
Tenant ID: Use theDirectory (tenant) IDvalue from the App Registration.Subscription ID: Use the subscription ID of the Azure subscription you wish to deploy into.Client ID: Use theApplication (client) IDvalue from the App Registration.Client Secret: Use theValueof the client secret you created.
Click Save to save the connection.
Azure CLI (az)
az)Create a Service Principal
First, ensure that you are logged in:
az login
[
  {
    "cloudName": "AzureCloud",
    "id": "subscrip-abcd-abcd-abcd-abcdabcdabcd",
    "isDefault": "true",
    "name": "Pay-As-You-Go",
    "state": "Enabled",
    "tenantId": "tenantab-abcd-abcd-abcd-abcdabcdabcd",
    "user": {
      "name": "[email protected]",
      "type": "user"
    }
  }
]
Note: In the above JSON, id represents your Azure subscription id.
Next, set your active subscription:
az account set --subscription="${id}"
Then, create a Service Principal to allow GRAX to manage infrastructure:
az ad sp create-for-rbac -n "GRAX" --scopes "/subscriptions/${id}" --role "Owner"
This returns the required authorization data for your Service Principal, as JSON.
{
  "appId": "appidabc-abcd-efgh-abcd-efgh-abcdabcdabcd",
  "displayName": "John",
  "name": "http://example.com",
  "password": "password-abcd-efgh-abcd-efgh-abcdabcdabcd",
  "tenant": "tenantid-abcd-efgh-abcd-efgh-abcdabcdabcd"
}
Now you need to enter the following values into your Azure Connection details:
- Click Add Azure Connection.
- Fill the values as follows:
Tenant ID: Use the"tenant"value from the JSON.Subscription ID: This is your Azure subscription id.Client ID: Use the"appId"value from the JSON.Client Secret: Use the"password"value from the JSON.
- Click
Save
Updated 13 days ago